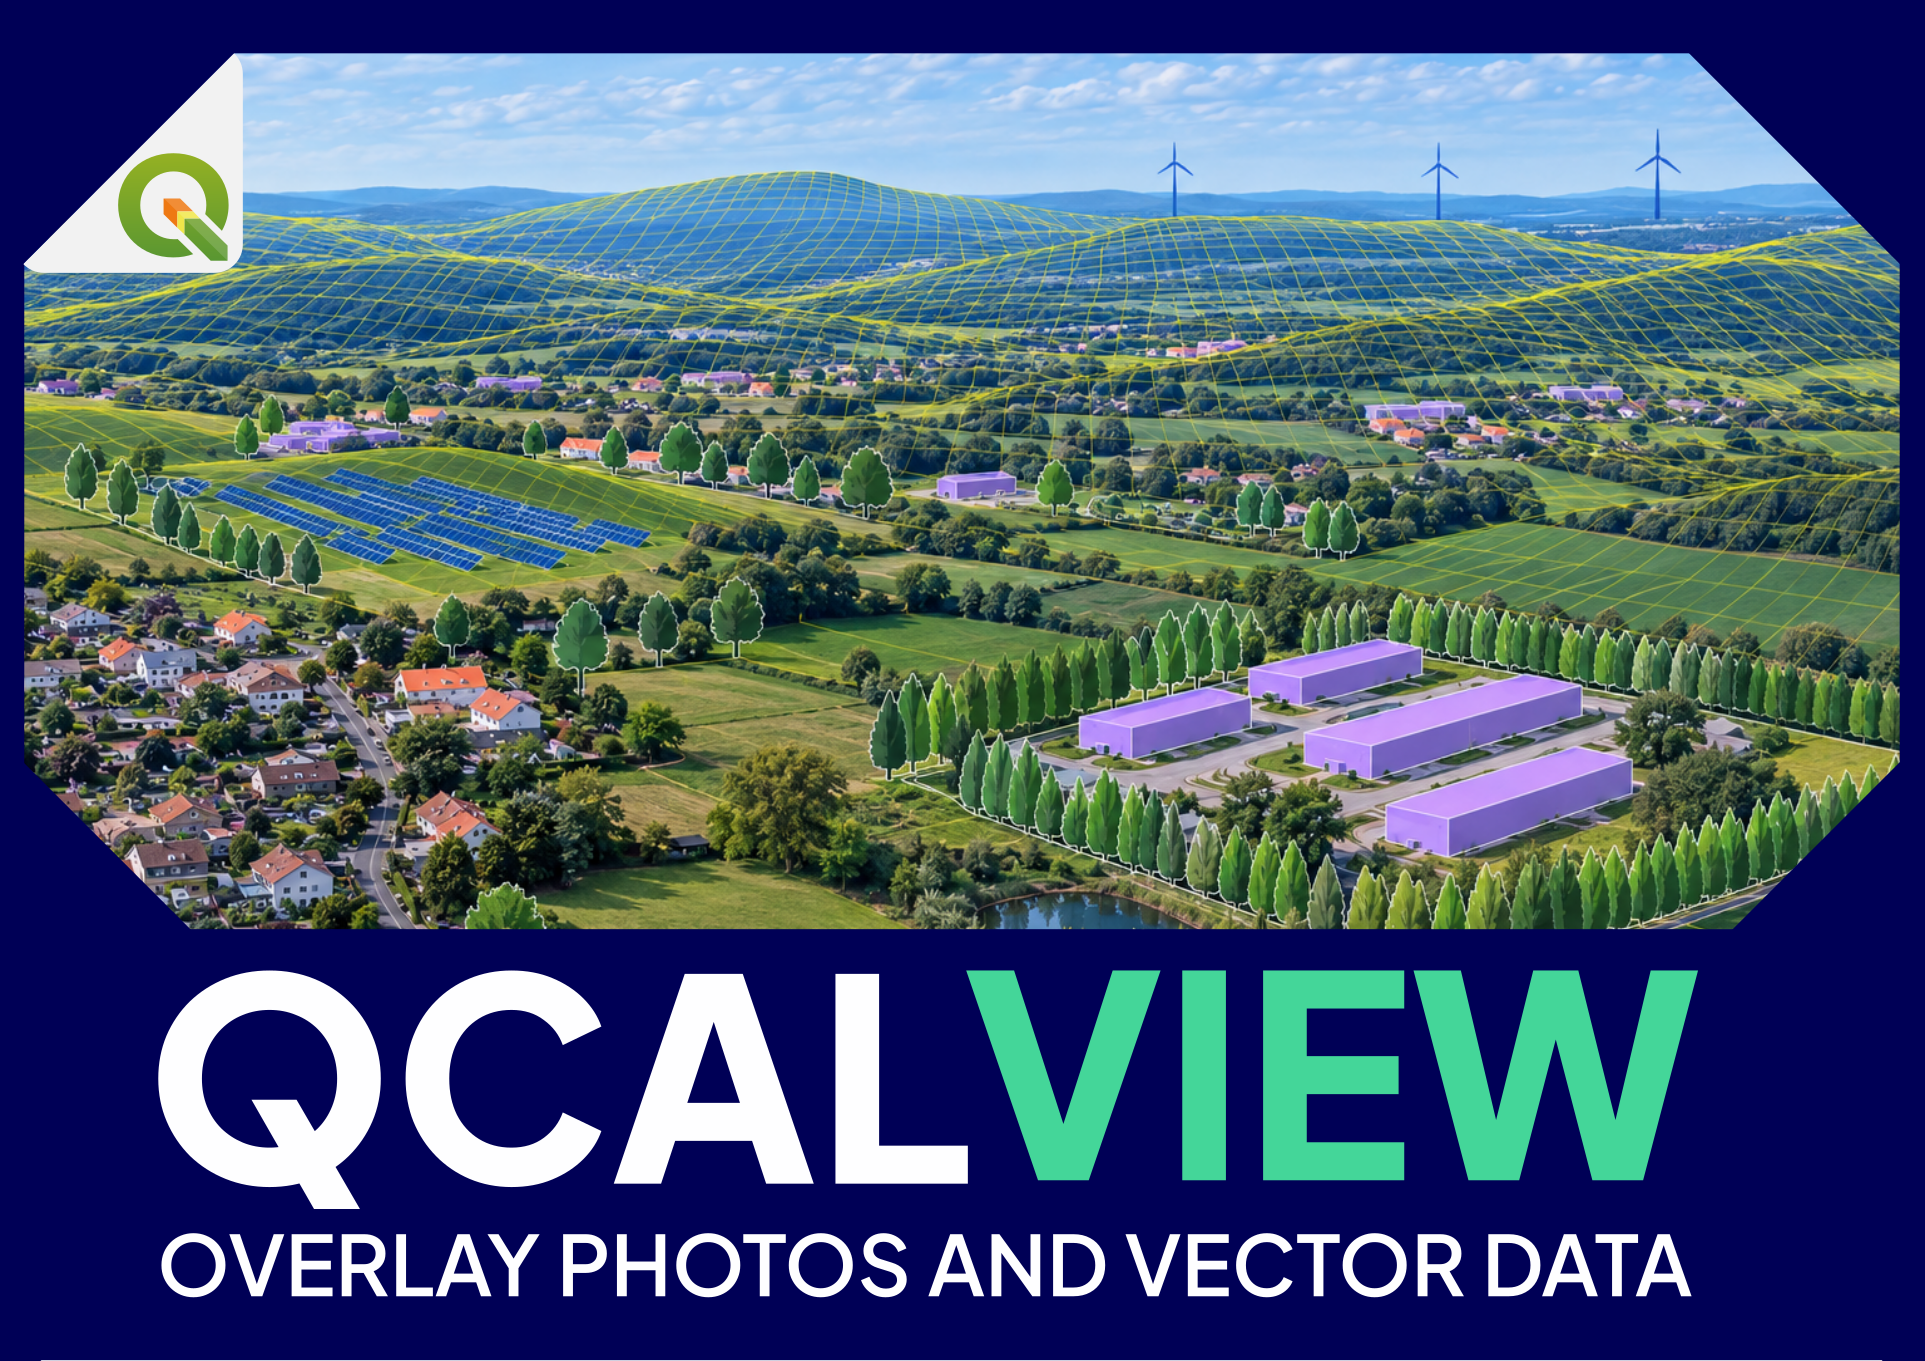
Applied workflows
These examples combine calibration and visual simulation in practical studies.
Workflow 1 — Check or reconstruct a photomontage calibration#
Objective#
Determine whether a photograph/photomontage is coherent with the claimed viewpoint and camera geometry.
Steps#
- Load the viewpoint position.
- Associate the source photograph.
- Select the likely projection.
- Load the DEM.
- Set image dimensions/crop.
- Estimate HFOV from focal/sensor information if available.
- Align terrain skyline and stable mapped geometry.
- Refine yaw, pitch, roll and camera height.
- Use GCP/monoplotting as independent checks.
- Compare the calibrated QCALVIEW projection with the submitted photomontage.
What this can reveal#
- incorrect viewpoint position;
- inconsistent HFOV/focal claim;
- wrong panorama projection;
- vertical/horizontal offset;
- scale inconsistency;
- mismatch between claimed and actual target position.
Deliverable idea#
A calibration-control sheet showing:
- source view;
- QCALVIEW horizon/geometry overlay;
- verified camera parameters;
- notes on residual uncertainty.
Workflow 2 — Compare wind-project layouts from the same viewpoint#
Objective#
Compare visual consequences of several turbine layouts without changing the observer/camera.
Steps#
- Calibrate the photograph once.
- Create separate layers or QGIS themes for layout A/B/C.
- Keep camera parameters fixed.
- Switch themes interactively or generate scenarios.
- Export identical framing for every variant.
Refinement#
Add controlled variants for:
- tip height;
- hub height;
- turbine model representation;
- colour/style;
- mitigation vegetation.
The key is to vary project assumptions while preserving the calibrated visual frame.
Workflow 8 — Use a meeting as a live visual review#
Objective#
Allow several people to test project hypotheses while keeping geographic references explicit.
Steps#
- Prepare calibrated viewpoints.
- Prepare project states as QGIS themes.
- Switch layouts and mitigation measures.
- Use schematic views where photography is not available.
- Capture/export agreed states.
This can be useful in design review, consultation preparation and internal coordination.
Workflow 9 — Solar / agrivoltaic visual studies#
Possible uses#
- compare layout extents and row arrangements;
- test boundary planting or screen heights;
- project site polygons/structures into calibrated views;
- create schematic views from locations without photographs;
- identify where a layout begins to emerge over terrain;
- generate repeatable variants using themes/scenarios.
QCALVIEW does not aim to replace specialist glare or shadow software; it addresses geometric visual relationship and visibility.
Workflow 10 — Urban or infrastructure screening#
Urban and infrastructure studies can use the same calibrated-view logic for buildings, roads, substations, walls, planting and other mapped elements.
How these workflows show QCALVIEW's potential#
The value is not one isolated feature. It is the continuity between steps:
- calibrate a view;
- project GIS information;
- test visual hypotheses;
- map the result;
- return to the view to explain or validate it.
That continuity can make a visual study more precise without forcing every question into a heavy 3D or raster-viewshed workflow.